Can water in your water heater be used in an emergency?
When water service fails unexpectedly, a residential tap-water heater tank may hold an emergency supply, yet eligibility depends completely on why service stopped and local health orders. CDC guidance states not to use water from appliances connected to the household water line during a drinking-water advisory unless local authorities explicitly confirm it is acceptable. Treat a connected water heater tank with that same caution whenever a Boil Water, Do Not Drink, or Do Not Use notice applies.
Three hard boundaries apply before touching any valve:
- Never use tank water if fuel, solvents, or toxic chemicals may have entered municipal lines, or if floodwater submerged the water heater itself. Boiling and bleach do not remove fuel, heavy metals, or chemical toxins.
- Confirm it is a domestic potable tap-water heater, never a radiator, steam boiler, or hydronic home-heating loop.
- Separate tankless coils from storage tanks: on-demand tankless units hold almost no reserve water (typically well under half a gallon inside the heat exchanger), whereas storage tanks hold rated capacities ranging from roughly 30 to 80 gallons depending on sediment buildup and outlet geometry.
Because sediment layer thickness, valve height, dip-tube configuration, and pipe layout differ across tanks, do not rely on a fixed usable-gallon percentage as a survival promise. Instead, plan household water reserves around CDC’s 1 gallon per person per day drinking, cooking, and basic hygiene baseline (1 gal × people × days) and treat any eligible heater tank strictly as a supplemental backup.
| Household Size (3-Day Baseline) | CDC Baseline Planning Target | Tank Role in Emergency Planning |
|---|---|---|
| 1 person | ~3 gallons total | Dedicated sealed jugs cover baseline; heater tank is secondary if safe and accessible |
| 2 adults | ~6 gallons total | Dedicated stored jugs avoid reliance on plumbing connected to depressurized mains |
| Family of 4 | ~12 gallons total | Dedicated food-grade containers prevent dry-fire errors and scalding risks during outages |
Protect yourself and the tank before touching any valve
Do not tap water from an appliance connected to municipal lines during a drinking-water advisory unless local health officials explicitly allow it, and never use water suspected of containing fuel or toxic chemicals. Before turning any shutoff, breaker, or drain valve, pull the exact heater owner’s manual; ask a qualified plumber or technician if electrical disconnects, gas controls, or seized drain valves are unfamiliar. Hot tank water can cause severe scald burns in seconds.
Mechanical isolation and draining overview
Before draining: emergency water safety checks
Follow this sequence strictly alongside your specific appliance owner’s manual rather than improvising across unfamiliar valves or wiring.
Step 1: Verify local advisories and contaminant scope
Check whether municipal officials issued a Boil Water, Do Not Drink, or Do Not Use notice. Because a storage tank sits connected to the building’s cold supply pipe, depressurization or contamination events prior to shutoff can affect tank contents. Whenever chemical spills, fuel odors, or flood submergence are possible, leave the tank closed and switch exclusively to sealed bottled water or utility tankers.
Step 2: Turn off electricity or gas before dropping the tank level
On electric and hybrid heat-pump heaters, the upper immersion element sits near the top dome. If water drains below that element and grid electricity returns while the tank is partially empty, the exposed heating element overheats in air (“dry-fires”) and burns out within seconds. Switch off the dedicated double-pole breaker at the main panel and tag or tape it clearly so household members do not toggle it back on early. On gas units, follow your exact manufacturer dial and manual valve shutoff directions—never force corroded gas cocks.
Step 3: Close the cold-water inlet valve above the tank
Isolating the cold supply line performs two hydraulic functions: it stops depressurized municipal street mains from back-siphoning stored tank water backward through the dip tube, and it blocks turbid or surge-pressurized street water from refilling the heater unexpectedly before the main is cleared. If the inlet valve is stiff or leaking around its packing nut, stop and call a licensed plumber instead of snapping an aged valve stem.
Step 4: Wait for complete cooling to prevent severe scald burns
Residential tanks commonly store water between 120°F and 140°F. The U.S. Department of Energy warns that exposure to 140°F water causes serious burn injuries in less than five seconds, and hot water can also deform non-heat-rated plastic containers. Because tank insulation thickness and starting water temperature vary, never trust a fixed cooling timer or test hot discharge with your fingers. Confirm cool-down safely according to your appliance manual before opening the bottom drain.
Step 5: Break vacuum lock and drain safely per the manual
With all building taps shut, opening the bottom drain creates an airtight vacuum inside the top of the tank that stops water flow after a small spurt. Follow your model’s ventilation instruction—commonly opening an upper-floor hot-water faucet so clean room air can enter from above. Avoid popping old brass Temperature and Pressure (T&P) safety levers unnecessarily unless your manual directs it; mineral crust often prevents aged springs from re-seating tightly afterward, creating continuous post-outage drips.
Catch water directly in clean stainless cooking pots, glass pitchers, or a potable food-grade RV hose (NSF/ANSI 61) rather than a standard outdoor vinyl or rubber garden hose (garden hoses frequently leach lead stabilizers, phthalates, and anti-fungal coatings into standing water). Discard the cloudy initial quart containing settled lime scale or rust particles into a non-potable bucket for toilet flushing before collecting clearer water.
Step 6: Strain grit and treat for germs only when appropriate
Heating depletes free municipal chlorine over time, and lower tank zones collect mineral grit and anode fragments. If local guidance permits tank use and the risk is strictly biological germs, strain collected water through a clean cloth, paper towel, or unbleached coffee filter to catch sediment, then treat using CDC emergency water disinfection guidance: bring water to a rolling boil for 1 minute (3 minutes above 6,500 ft), or follow your unscented household bleach label per CDC’s 5%–9% sodium hypochlorite dosing table (8 drops, or roughly 0.5 mL, per gallon of clear water, mixed and held for at least 30 minutes; double the drops if water remains cloudy, colored, or very cold). A coffee filter catches particles only—it never disinfects germs.
Critical refill rule: restoring your water heater safely
When municipal water returns safely, never re-energize the electric breaker or relight a gas burner while the tank holds pockets of air. Complete this full-vent recommissioning sequence against your owner’s manual first:
- Close the bottom drain valve securely and detach any temporary potable drain hose.
- Open at least two household hot-water faucets (for instance, kitchen sink and an upstairs bathroom).
- Slowly reopen the cold-water inlet valve above the heater so air vents upward out of the open hot taps.
- Wait for smooth, steady, air-free flow from every open hot faucet before closing those taps (sputtering bursts indicate trapped air above the upper heating element).
- Verify a full tank per your manual, remove your breaker lockout tape, and only then restore the electric breaker or follow the gas pilot/ignition restart instructions (calling your gas utility or a technician if unsure).
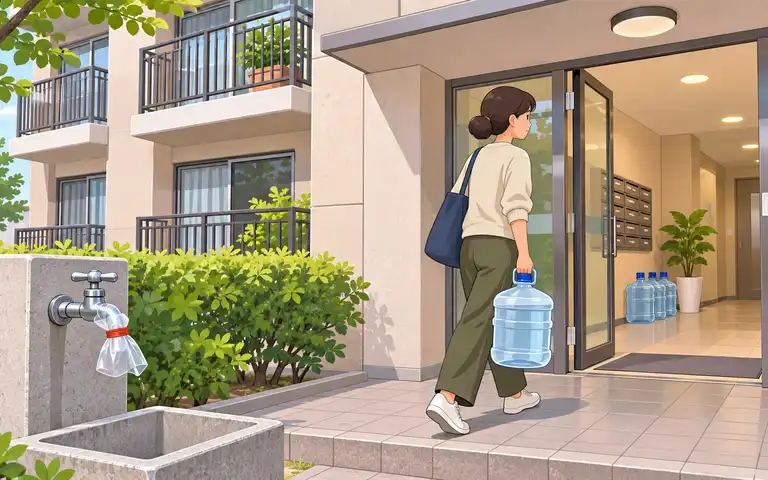
Keeping dedicated filled food-grade containers on hand removes the risk of rushing a hot, heavy tank during stressful outages. Size your primary household reserve in the Emergency Water Storage Calculator, compare storage ergonomics with our apartment water floor-weight guide, and review household bleach potency and expiration rules before stocking up.
Easier Carry · 5-Gal Container (~42 lb water)
Scepter Flow Control WCG501
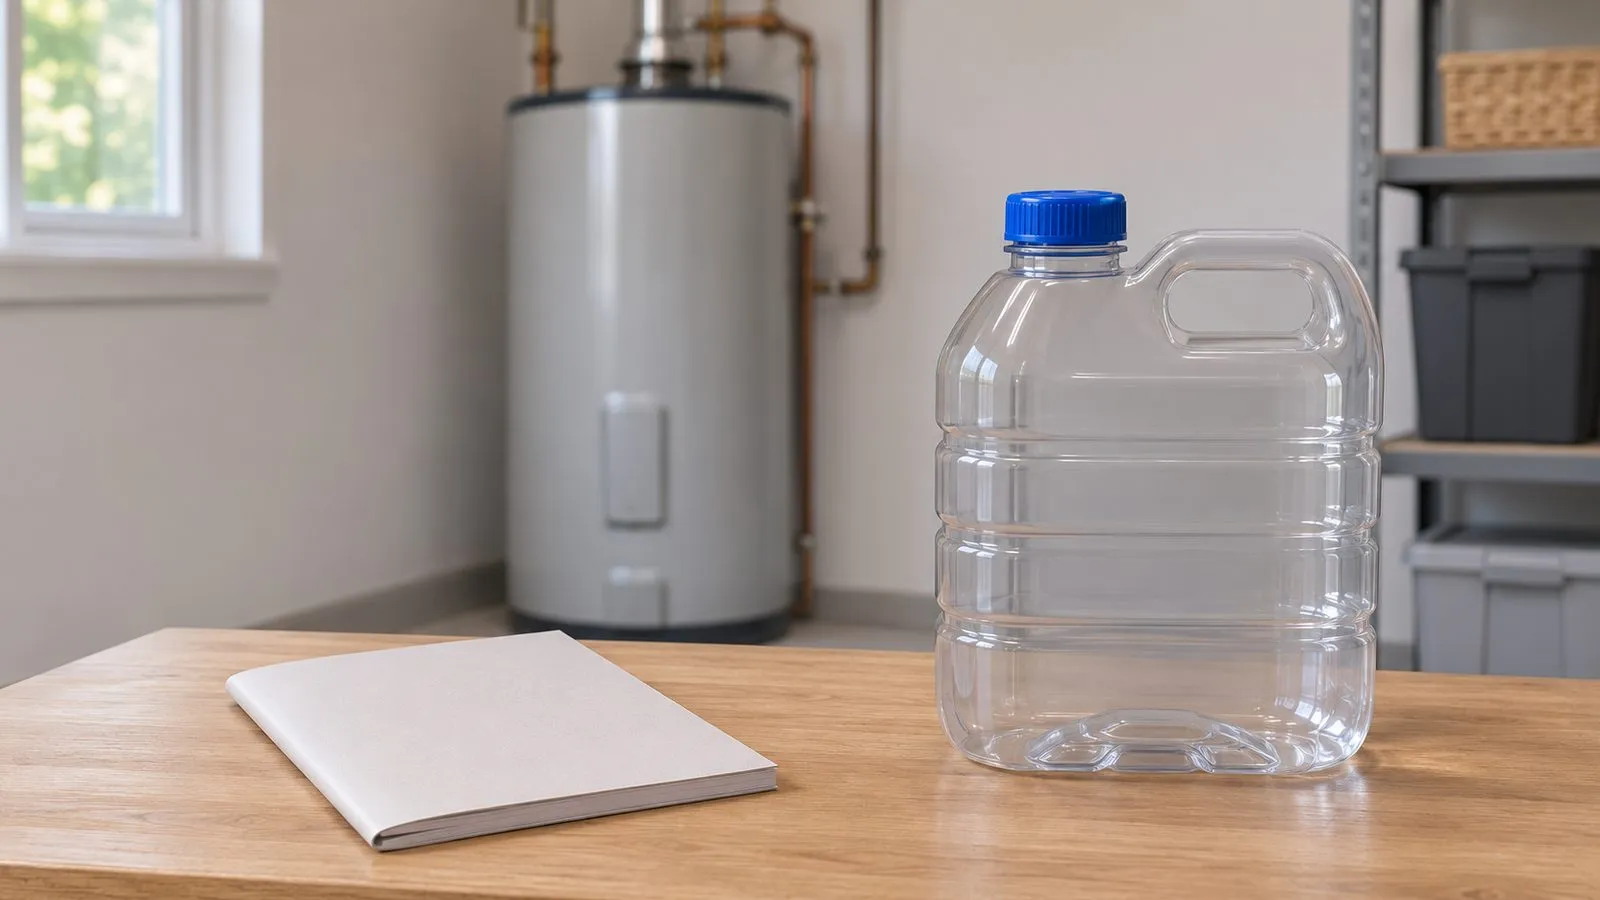
Why it fits Keeping pre-filled 5-gallon food-grade containers (~41.7 lb filled) on hand avoids depending on a connected water heater during drinking-water advisories and gives tankless-heater homes an actual reserve. Follow CDC container sanitization and 6-month rotation schedules.
Key trade-off Five gallons of water alone weigh about 41.7 lb; the container's empty and filled weights are not listed by Scepter.
Specifications & research
Dedicated five-gallon potable storage alternative. Source records checked on 2026-10-22. Manufacturer research, not hands-on testing.
- Listed water capacity
- 5 US gal · Source checked 2026-10-22
- Empty container weight
- Not verified in this source record · Source checked 2026-10-22
- Stacking when filled
- Not verified in this source record · Source checked 2026-10-22
Manufacturer documentation. Confirm the exact container, storage location, handling and cleaning instructions before buying.
Frequently asked questions
Is water from a hot water heater safe to drink in an emergency?
It depends entirely on the type of emergency and local public-health guidance. CDC identifies residential tap-water heater tanks as a possible backup source, yet explicitly directs households not to use water from connected appliances during a drinking-water advisory unless authorities approve it, and never when fuel or toxic chemicals are suspected. When cleared for germ risk only, strain out mineral scale and boil or disinfect according to current CDC instructions.
Can you get emergency water from a tankless water heater?
Tankless water heaters do not store a bulk tank reserve. Only a tiny volume (typically well under half a gallon) sits inside the internal heat exchanger coil and piping, depending on unit geometry. Homes with on-demand tankless heaters must keep sealed commercial bottled water or sanitized food-grade storage containers ready ahead of outages.