Where to Place and How to Test Home Water Leak Sensors
Map likely leak points, distinguish local alarms from remote alerts or shutoff, and record a safe test that proves what your exact sensor can do.
In this guideJump to a section
A leak sensor is useful only when it sits where water can reach it and someone can hear or receive its alert. Put the first unit where a small leak would otherwise stay hidden—then document which parts of the alert chain you have actually tested.
EPA WaterSense distinguishes point-of-use moisture sensors, which respond to unexpected dampness at a location, from point-of-entry flow devices that monitor water use patterns across the home. Those tools answer different questions. A portable sensor does not monitor every pipe, and a phone notification depends on the device, hub, home network, internet path, and phone settings still working.
Map likely leak points
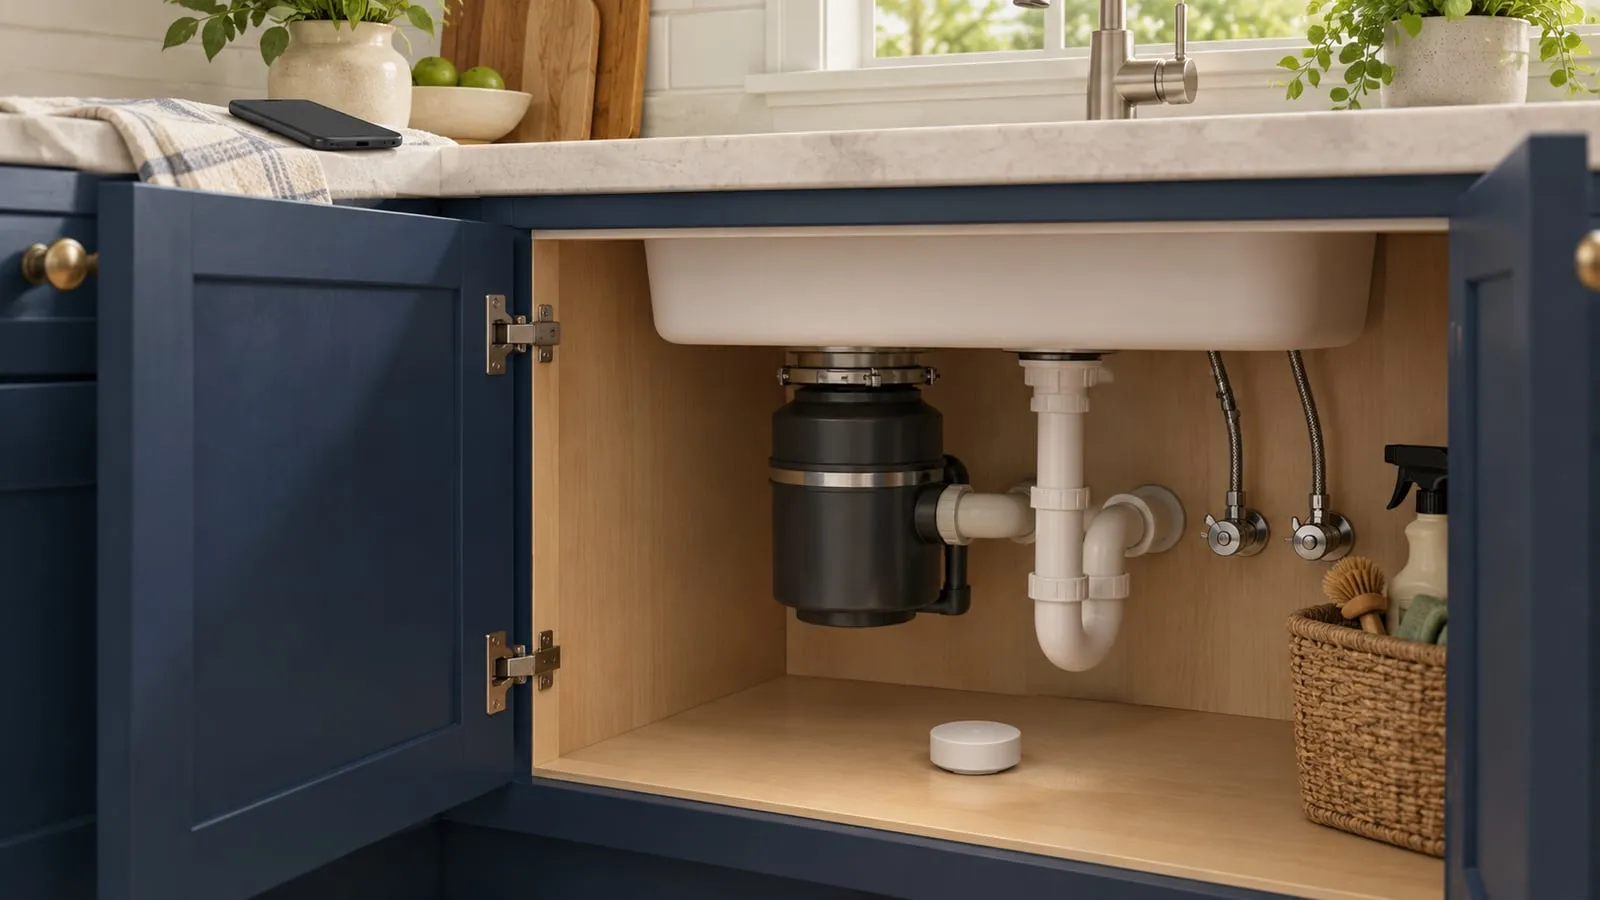
Walk through the home and note water-using equipment, nearby finishes, and the consequence if water goes unnoticed. Follow each product’s placement instructions; avoid locations where condensation, routine splashes, or cleaning could trigger false alarms.
| Area to inspect | What to look for | Record or ask |
|---|---|---|
| Under sinks and vanities | Supply connections, drain joints, stored items that hide a drip | Is there a flat, accessible sensor spot the maker allows? |
| Water heater area | Tank base, nearby drain pan, condensate or relief discharge path | Does the sensor’s temperature/moisture rating fit this location? |
| Laundry | Washer supply hoses, nearby floor drain, overflow path | Can the sensor be reached without moving the washer or crossing a walkway? |
| Dishwasher and refrigerator | Appliance edge, filter/supply area, floor path | Does the manual permit placement near the appliance, and can it be checked? |
| Basement, crawlspace, or utility room | Sump basin perimeter, exposed plumbing, areas below bathrooms | Is the location safe and accessible? Use a professional for wiring or plumbing concerns. |
| Multi-unit home | Unit fixtures and any shared systems managed by the building | Who receives building-level alerts and who may close a shared valve? |
This is a prioritization map, not a guarantee of coverage. A sensor placed beside a water heater will not detect a leak in another room unless the water reaches it.
Separate four different capabilities
For each device, write down whether it provides:
- Moisture detection: the sensor detects water at its own location.
- Local alarm: the sensor or hub makes an audible/visible alarm inside the home.
- Remote notification: an app sends an alert outside the home. Confirm whether this requires internet, a hub, a subscription, or a particular phone setting.
- Automatic shutoff: a compatible valve stops water. Verify the exact system and who is qualified to install or service it; do not assume a sensor’s alarm closes a valve. Record who is authorized to access the supply and its documented location in the main water shutoff location plan; shared-building valves require the responsible property or utility contact.
Some systems combine features, but the pathway can fail at different points: depleted sensor battery, radio link, hub power, router or internet, notification permissions, or valve power. The manufacturer’s model-specific instructions determine what happens when one link disappears.
Leak sensor test record
Follow the exact manual’s approved test method. For example, the Tapo T300 guide says to single-press the sensor’s control button after setup and check whether its hub alarms; that is a model-specific hub-check, not proof of every product’s moisture detection or phone-alert path. Do not pour water onto a sensor near electrical equipment or use a test the manufacturer does not specify. After any test, dry/reset equipment exactly as instructed.
| Date and device | Test method from manual | Local alarm | Phone alert and conditions | Shutoff result | Follow-up |
|---|---|---|---|---|---|
| Pass / fail / not included | Pass / fail / not included; internet/hub state | Pass / fail / not included |
Do not interrupt shared home internet to test an alert path. Check the product’s documentation for offline behavior, or use only a manufacturer-approved isolated device or test network that does not disrupt household service. If neither option is available, mark that behavior unknown and ask the manufacturer or qualified installer. Never deliberately create a leak or disable a valve needed for household safety.
A short household example
Suppose a manufacturer-approved moisture-detection test triggers the sensor’s local alarm, but the phone receives no notification. Record the result separately: moisture detection and the local warning passed that test; the remote alert did not. A button-only hub check, such as the Tapo example above, establishes only the behavior its manual describes, not a successful moisture test. Check the maker’s hub/network troubleshooting steps and retest the specific notification path without disrupting shared household service.
Review the map after appliance replacement, cabinet work, a move, or a sensor relocation. Keep ordinary leak inspections too: sensors are a layer of detection, not a substitute for maintaining fixtures or responding to a known leak.
For a whole-home outage plan that records offline device behavior, use the smart-home offline-control audit.