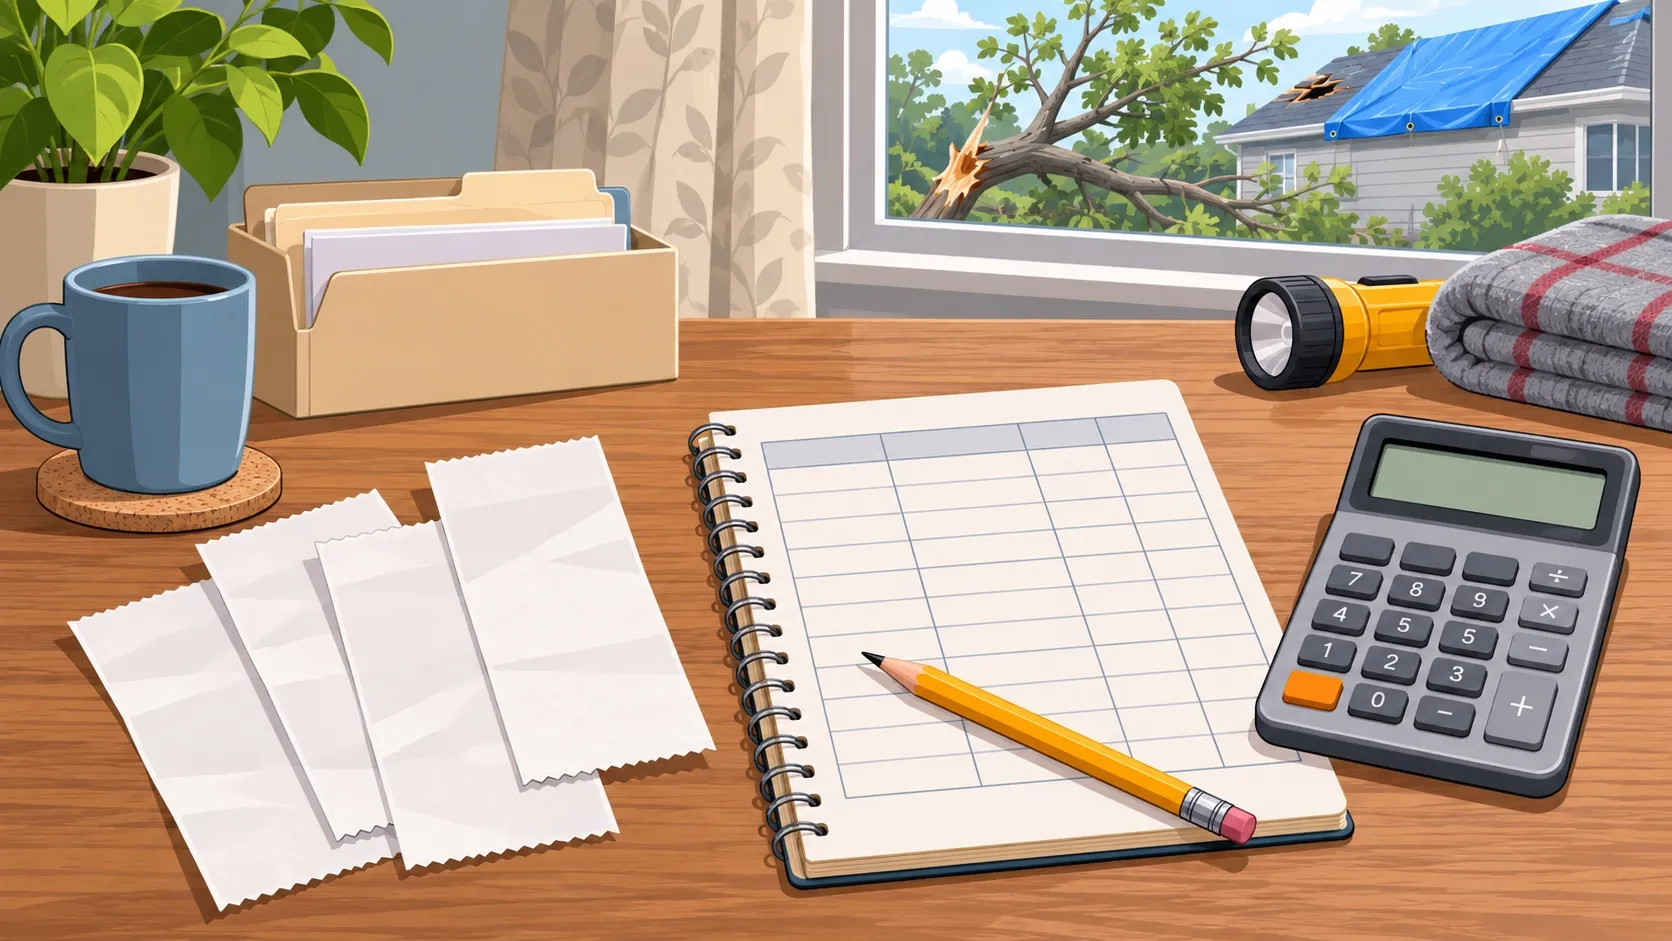
When a severe derecho, tornado, or hurricane passes over your property, the relief of surviving intact is quickly replaced by the stress of an impacted home: torn roof shingles, rain cascading through ceiling drywall, or a mature pine tree crushed against the garage.
In the chaotic first hours after a storm, property owners frequently make two costly mistakes. Some discard damaged furniture and wet carpets before an adjuster arrives, destroying the physical proof needed to validate their claim. Others fail to cover an exposed roof hole with a blue tarp, allowing subsequent rains to soak the structure, giving insurance carriers legal grounds to deny the interior water damage under the policy’s “failure to mitigate” clause.
Navigating property insurance claims requires treating your home like a forensic site: document exhaustively, protect the structure from secondary damage, and understand the accounting rules that govern payouts.
The Policyholder’s Mandatory “Duty After Loss”
Every standard homeowners insurance policy (ISO Form HO-3 or HO-5) contains a section titled Duties After Loss. Overlooking these contractual duties can void coverage.
The contract establishes three immediate legal obligations:
- Prompt Notice: You must notify the insurance company or your local agent as soon as reasonably possible after the storm event. Delays extending beyond several weeks can prejudice the insurer’s investigation and lead to claim rejection.
- Protect Property from Further Damage: The policyholder must make reasonable, necessary temporary repairs to protect undamaged property from secondary weather exposure. For example, you must board up blown-out windows, shut off the main water valve if supply pipes ruptured, and nail a temporary waterproof tarp over exposed roof decking. Keep all receipts for tarps, plywood, screws, and professional drying equipment; these costs are reimbursable under the policy’s Reasonable Repairs coverage.
- Cooperate and Preserve Evidence: You must maintain the damaged property available for the insurance adjuster’s physical inspection. Do not toss waterlogged electronics, antique rugs, or broken structural rafters into a curbside dumpster until the adjuster has personally inspected, measured, and photographed them.
Surviveware Comprehensive First Aid Kit
Why it fits An organized first aid kit may make supplies easier to find; check contents against household needs and replace used items.
Key trade-off Does not include prescription medications or commercial tourniquets (CAT/SOF-T); add personal prescription meds and dedicated arterial tourniquets to designated extra zipper pockets.
Specifications & research
600D water-resistant labeled first aid kit. Source records checked on 2026-11-04. Manufacturer research, not hands-on testing.
- Item Count
- 200 · Source checked 2026-11-04
- Case Material
- 600D water-resistant ripstop polyester case with waterproof inner laminates · Source checked 2026-11-04
- Included Specialty Supplies
- 7.5-inch trauma shears, CPR mask with one-way valve, emergency thermal mylar blanket, splint, triangular bandages · Source checked 2026-11-04
Manufacturer documentation. Confirm exact Surviveware model specifications and household safety limits before buying.
The Forensic Photography Protocol
Smartphones record high-resolution images, GPS coordinates, and exact timestamps. Before moving a single tree branch or mopping floor water, conduct a thorough photo and video walkthrough of your property.
Follow this systematic visual recording procedure:
       PROPERTY DAMAGE PHOTO CAPTURE SEQUENCE

       1. Overview Establishing Shots ──► (Street signs, house numbers, full roofline)
                                                    │
       2. Mid-Range Impact Zone ────────► (Window framing, siding tear, ceiling sag)
                                                    │
       3. Macro Detail with Scale ──────► (Tape measure against shingle crease, hail gauge)
                                                    │
       4. Serial Numbers & Nameplates ──► (HVAC condenser, water heater, refrigerator model)
Capture three tiers of imagery for every damaged item or structural component:
- Stand at the street for wide-angle context shots that capture the entire house, including the street sign or house address. Inside, photograph entire rooms from wall to wall to establish the overall condition and spatial extent of water intrusion.
- Step in 4 to 8 feet for mid-range mechanism shots showing the exact point of impact—such as a tree trunk penetrating an attic truss, or wind ripping vinyl siding away from the OSB sheathing.
- Use macro close-ups with physical scale by placing a tape measure, ruler, or standard coin next to hail indentations, roof shingle creases, cracked foundation stems, or water lines on drywall. Photograph the manufacturer serial number and model plates on all damaged appliances, HVAC compressors, and power equipment.
Take continuous walkthrough video with your phone’s microphone enabled. Narrate the exact date, time, and observations in real time: “It is November 9th at 8:15 AM. We are in the upstairs south bedroom. Water is actively dripping from the ceiling light fixture into a 5-gallon bucket, and the drywall ceiling has sagged approximately 2 inches.”
Understanding ACV vs RCV and Depreciation Holdback
Homeowners are often shocked when their initial insurance claim check is significantly smaller than the contractor’s repair estimate. This discrepancy stems from the difference between Actual Cash Value (ACV) and Replacement Cost Value (RCV).
- Replacement Cost Value (RCV): The actual dollar amount required to repair or replace the damaged property with materials of like kind and quality at current retail market prices, without deducting for age or physical wear.
- Depreciation: The calculated reduction in value of an item based on its age, expected lifespan, and pre-loss condition.
- Actual Cash Value (ACV): The depreciated value of the property at the moment of loss:
Actual Cash Value (ACV) = Replacement Cost (RCV) - DepreciationA Worked Claim Accounting Example
Consider a 15-year-old architectural shingle roof destroyed by a hail storm. A licensed roofing contractor quotes 18,000 dollars for full tear-off and replacement. Your policy carries an RCV endorsement with a 1,500-dollar deductible:
| Accounting Line Item | Financial Calculation | Payout Amount | Payout Timing |
|---|---|---|---|
| Total Estimated Repair (RCV) | Contractor’s approved scope | 18,000 dollars | Baseline project cost |
| Less Policy Deductible | Homeowner out-of-pocket responsibility | -1,500 dollars | Paid directly by homeowner |
| Less Recoverable Depreciation | 50% wear on 15-year roof (30-year design life) | -6,000 dollars | Held in escrow by insurer |
| Initial Check: Net ACV Payout | (18,000 to 1,500 dollars) - 6,000 dollars | 10,500 dollars | Issued upon claim approval |
| Final Check: Recoverable Depreciation | Released upon receipt of final paid contractor invoice | 6,000 dollars | Issued after work is complete |
| Total Net Insurer Payout | 10,500 dollars + 6,000 dollars | 16,500 dollars | Equal to RCV minus deductible |
In this scenario, the insurer issues an initial check for 10,500 dollars. You use these funds to pay the contractor’s initial deposit and begin material procurement. Once the roofer completes the installation and submits a signed Certificate of Completion alongside the final invoice, the insurance company releases the remaining 6,000 dollars of recoverable depreciation.
If you decide not to rebuild the roof and pocket the cash, you forfeit the 6,000 dollars in depreciation.
Wind vs Flood: The Anti-Concurrent Causation Trap
During coastal hurricanes and heavy atmospheric river storms, properties frequently suffer both wind damage (shingles blown off, broken windows) and water inundation (rising stormwater or storm surge).
Standard homeowners insurance policies cover wind and wind-driven rain entering through a storm-created opening in the roof or wall. However, standard policies explicitly exclude flood damage, defined as surface water, rising bodies of water, or storm surge inundating two or more acres of normally dry land. Flood damage is covered exclusively through separate policies underwritten by the National Flood Insurance Program (NFIP) or private flood carriers.
Many policies contain an Anti-Concurrent Causation (ACC) clause. This provision states that if a home suffers simultaneous damage from two perils (wind and flood), and one peril is excluded (flood), the insurer may deny coverage for the entire loss unless the homeowner can forensically isolate which damage was caused exclusively by wind prior to the arrival of rising floodwaters.
To protect against this claim trap:
- Photograph high-water marks on exterior brickwork and trees outside the house.
- Photograph interior ceilings and upper walls to prove that roof water stains occurred from the top down before any ground water entered.
- Secure local weather radar data and barometric wind reports showing that peak gale-force winds hit the property hours before tidal or creek surge crested.
Should You Hire a Public Adjuster?
The adjuster sent by your insurance company works directly for the insurer. An independent contractor hired by the insurer is also accountable to the carrier.
If your storm damage is catastrophic—exceeding 50,000 to 100,000 dollars—or if the carrier’s adjuster offers a settlement that leaves you tens of thousands of dollars short of licensed contractor repair estimates, consider retaining a licensed Public Adjuster.
Public adjusters work exclusively on behalf of the policyholder. They prepare independent architectural estimates, compile detailed contents inventories, and negotiate directly with the carrier’s claims department. Public adjusters typically charge a contingency fee ranging from 10% to 15% of the total claim payout. For minor claims near your deductible, paying 15% to a public adjuster makes little financial sense. For major structural losses involving disputes over framing, electrical replacement, or total roof decking tear-off, their forensic documentation frequently recovers significantly more than their fee.
Storm Damage Claim Documentation Checklist
Follow this systematic sequence from the moment the storm passes until the final depreciation check clears:
- Confirm personal and structural safety before entering damaged areas. Verify power lines are clear of fences or standing water, smell for natural gas odors, and shut off utility mains if framing movement is suspected.
- Capture unedited photo and video evidence across the exterior perimeter and interior rooms (wide context shots, mid-range impact zones, and close-ups with a tape measure). Back up all raw digital files to cloud storage immediately.
- Perform mandatory temporary mitigation by tarping damaged roof areas, boarding broken windows, and extracting standing water to stop mold growth. Hold off on permanent structural rebuilds until the insurance adjuster inspects the property.
- Retain every expense receipt in a dedicated folder, including tarps, fasteners, generator fuel, dehumidifier rentals, and emergency contractor board-up invoices.
- Request an itemized adjuster estimate (such as an Xactimate or Symbility line-item printout) when the field adjuster finishes their walkthrough, and compare every item against your independent contractor bids.
- Track your proof of loss deadlines, verifying your policy’s official cutoff for submitting a formal signed Sworn Proof of Loss (standard policies allow 60 to 90 days; FEMA flood claims enforce strict 60-day deadlines).
- Submit final completion invoices for recoverable depreciation alongside building permit sign-offs once licensed repairs are completed to release your withheld depreciation check.