In this guide Jump to a section
- The DORI Standard: Defining Usable Image Quality
- The PPF Formula: Calculating Real-World Optical Coverage
- Camera Placement Geometry: The “Baseball Cap” Failure
- Fixed Lenses vs. Motorized Varifocal Cameras
- Decision Matrix: Lens Selection by Placement Zone
- Step-by-Step Property Optical Audit
- Frequently Asked Questions
The most common mistake homeowners make when installing security cameras is assuming that a “4K resolution” camera automatically captures crisp, identifiable faces.
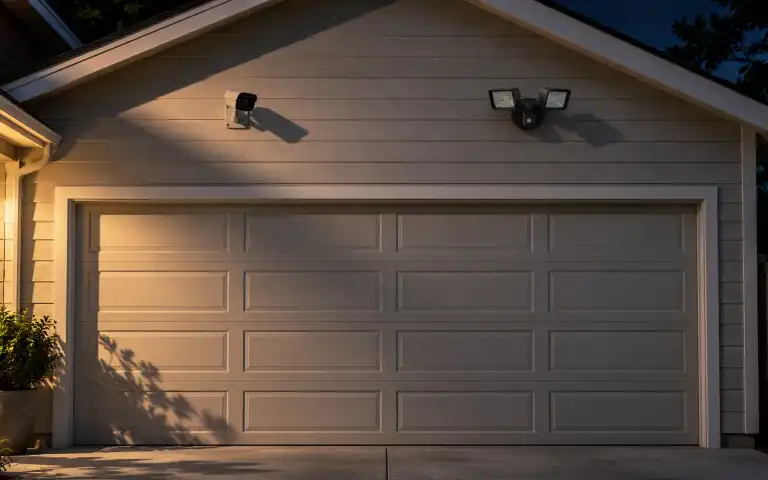
When an intruder enters the driveway at night, the homeowner checks the recorded footage only to find a blurry, pixelated silhouette. The camera was 4K, but the lens was an ultra-wide 2.8mm field of view. By spreading 3,840 horizontal pixels across a massive 110-degree panorama, the camera diluted optical resolution so severely that individual facial features were lost just 20 feet away.
To capture actionable evidence that law enforcement can use to identify suspects, you must balance sensor resolution, lens focal length, and the international DORI standard.
Effective range comparison across common fixed focal lengths on a 4K image sensor according to EN 62676-4.
The DORI Standard: Defining Usable Image Quality
The surveillance industry uses the European Standard EN 62676-4 (adopted globally under IEC 62676-4) to establish scientific benchmarks for video clarity. The standard defines four progressive levels of visual detail, known as DORI:
| DORI Level | Pixel Density Metric | Visual Capability | Legal & Investigative Use |
|---|---|---|---|
| Detection | 8 Pixels Per Foot (25 px/meter) | Determine if a human or vehicle is in the frame | Motion triggering only; zero facial or clothing detail |
| Observation | 19 Pixels Per Foot (63 px/meter) | See characteristic clothing, jacket color, backpack | General behavioral context; cannot confirm identity |
| Recognition | 38 Pixels Per Foot (125 px/meter) | Determine with high confidence if person is known to you | Distinguishes family/neighbors from strangers; weak in court |
| Identification | 76 Pixels Per Foot (250 px/meter) | Clear facial features beyond reasonable doubt; license plates | Courtroom-admissible evidence for suspect prosecution |
If your primary objective is to prosecute someone who breaks into your vehicle, your camera system must deliver at least 76 Pixels Per Foot (PPF) at the exact location where the vehicle is parked.
Master Lock Dual-Function Door Security Bar (265D / 270EC)
- Adjustable length
- 27.5 to 42 in
Why it fits A door security bar may add resistance to entry on a compatible door; confirm that it does not obstruct emergency escape.
Key trade-off On highly slippery smooth tile, ensure the floor is clean and dry to maximize rubber foot grip.
Specifications & research
Dual-function heavy-duty adjustable door security bar. Source records checked on 2026-11-04. Manufacturer research, not hands-on testing.
- Material
- 20-gauge heavy-duty steel tube · Source checked 2026-11-04
- Adjustable length
- 27.5 to 42 in · Source checked 2026-11-04
- Foot design
- Pivoting ball-joint rubber base · Source checked 2026-11-04
Manufacturer documentation. Confirm exact Master Lock model specifications and household safety limits before buying.
The PPF Formula: Calculating Real-World Optical Coverage
Pixel density is not determined by sensor megapixels alone. It is a mathematical relationship between horizontal sensor resolution and the scene width covered by the lens at a specific target distance.
The Mathematical Formula:
Pixels Per Foot (PPF) = Horizontal Sensor Resolution (pixels) / Scene Width at Target (feet)Where:
- 1080p Full HD = 1,920 horizontal pixels
- 2K / 4MP = 2,560 horizontal pixels
- 4K Ultra HD (8MP) = 3,840 horizontal pixels
Worked Example: The 4K Driveway Dilemma
Imagine a homeowner installs a popular 4K camera with an ultra-wide 2.8mm lens (108° horizontal field of view) mounted above their garage door. Their car is parked 30 feet down the driveway.
- Calculate the Scene Width: At 30 feet distance, a 108° lens covers a field of view roughly 80 feet wide.
- Apply the PPF Formula:
PPF = 3,840 pixels / 80 feet = 48 PPF - Compare to DORI: 48 PPF achieves Recognition, but falls far short of the 76 PPF required for Identification. If an unknown suspect breaks a car window at 30 feet, the homeowner gets a recognizable silhouette, but police detectives cannot make a positive facial match.
The Solution: Swap to a 4mm or 6mm Lens
If the homeowner switches to a 4K camera with a 6mm lens (55° FOV):
- At 30 feet distance, the scene width narrows to roughly 31 feet wide.
- Apply the PPF Formula:
PPF = 3,840 pixels / 31 feet = 124 PPF - Outcome: At 124 PPF, the camera vastly exceeds the 76 PPF threshold, delivering razor-sharp facial details, eye shapes, tattoos, and readable license plate numbers.
| Lens Focal Length | Horizontal FOV | Max Identification Distance (4K) | Max Identification Distance (1080p) |
|---|---|---|---|
| 2.8 mm | ~108° (Ultra-Wide) | 15 to 18 feet | 7 to 9 feet |
| 4.0 mm | ~85° (Medium-Wide) | 28 to 32 feet | 14 to 16 feet |
| 6.0 mm | ~55° (Telephoto Narrow) | 48 to 55 feet | 24 to 27 feet |
| 12.0 mm | ~25° (Dedicated Long-Range) | 95 to 110 feet | 48 to 55 feet |
Camera Placement Geometry: The “Baseball Cap” Failure
Achieving proper focal length is only half the battle. Mounting height and vertical depression angle dictate whether you capture a face or the top of a hat.
The Second-Story Soffit Trap
Many DIYers install cameras 15 to 20 feet high under second-story roof eaves because it is convenient to drill through attic vents.
This creates a steep 45-degree to 60-degree depression angle:
- When an intruder walks up to your door wearing a baseball cap or hooded sweatshirt, the camera looks straight down onto the brim of the hat.
- The suspect’s eyes, nose, mouth, and jawline are completely shadowed and hidden from the sensor.
- You record a high-definition video of the top of an intruder’s cap, which provides zero investigative value to police.
Mounting Geometry Comparison:
16 ft Soffit Mount (45° angle) → Captures hat brim, shoulders, and bald spots
 8 ft Entry Mount  (15° angle) → Captures straight-on eye level, nose, and jawline
The 8-to-9 Foot Golden Rule
For exterior residential surveillance:
- Ideal Height: Mount cameras 8 to 9 feet above ground level.
- This keeps the camera out of reach of an intruder attempting to jump or swipe it with a stick.
- It maintains a shallow 10-degree to 15-degree depression angle, capturing direct, straight-on facial profiles even when suspects look slightly downward or wear headwear.
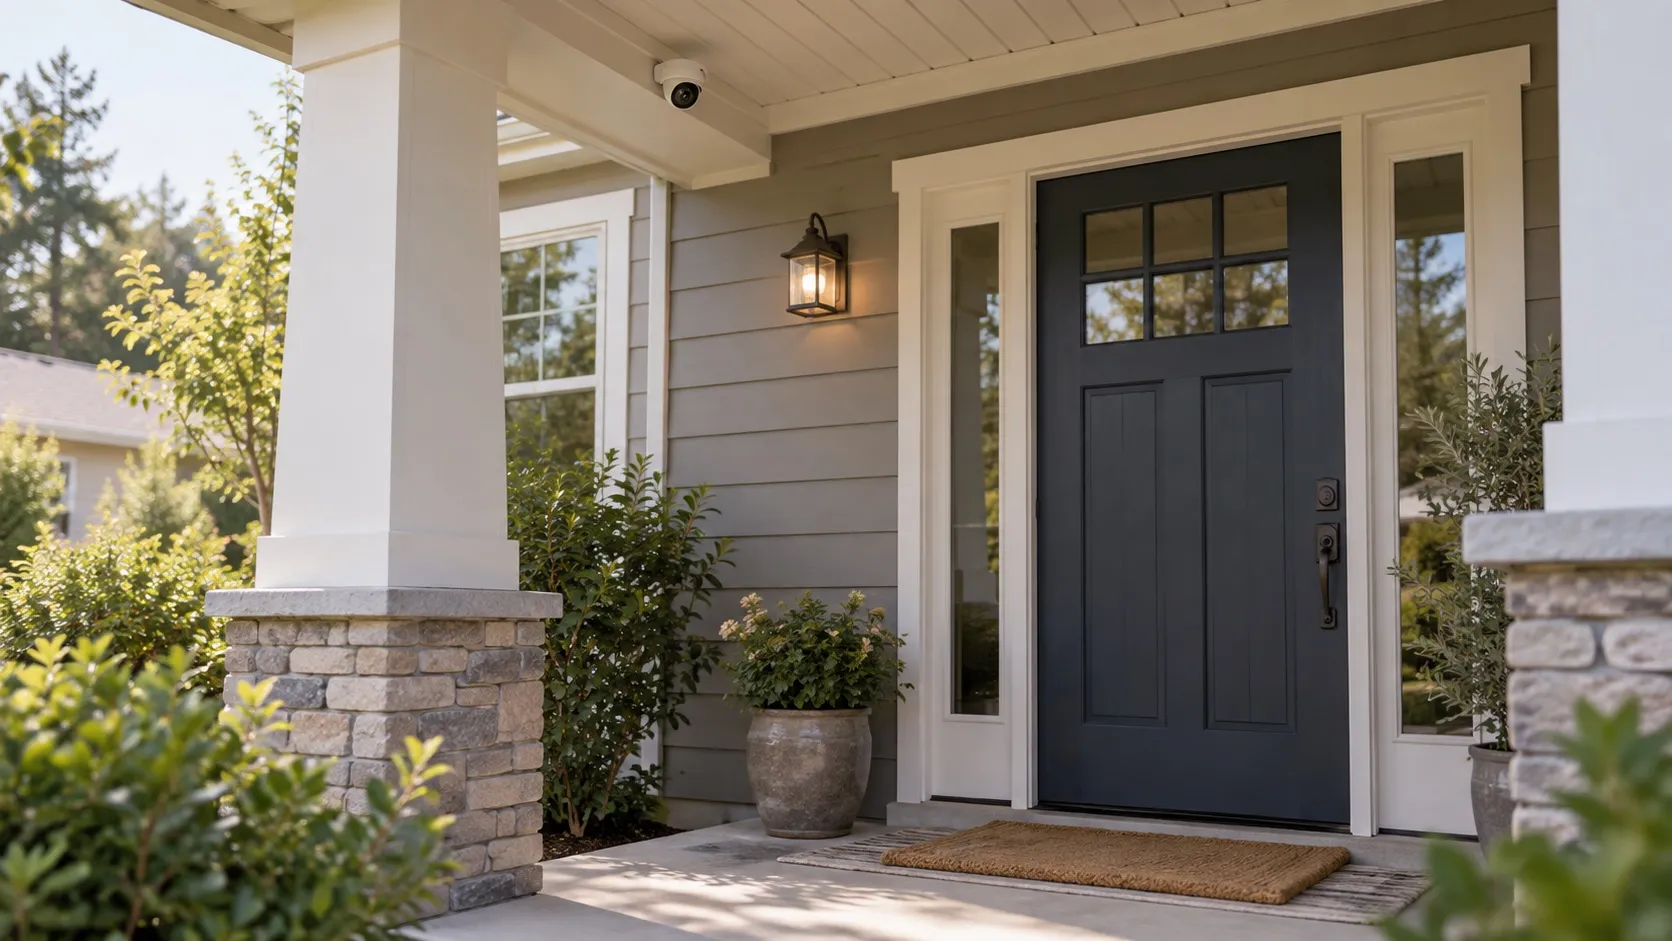
- For front door cameras, mount at chest to eye level (5.5 to 6.5 feet) directly beside the door or via a video doorbell for optimal facial capture.
Fixed Lenses vs. Motorized Varifocal Cameras
When purchasing cameras, you will encounter two optical mechanisms:
1. Fixed Focal Length Lenses
The lens has a permanently set focal length (e.g., 2.8mm or 4mm).
- Advantages: Lower cost (70 to 130 dollars per 4K camera), compact bullet or turret form factor, fewer moving mechanical parts to fail over time.
- Limitations: You cannot adjust the zoom after installation. If you miscalculate the distance, you must physically relocate the camera or swap the unit.
2. Motorized Varifocal Lenses
The camera contains an internal motorized zoom and auto-focus mechanism (typically spanning 2.8mm to 12mm).
- Advantages: Extreme installation flexibility. You can mount the camera, open the smartphone app or NVR software, and zoom smoothly from a wide 105° porch overview down to a tight 28° choke point on a driveway gate.
- Limitations: Higher upfront cost (150 to 250 dollars per camera), slightly larger physical housing, and minor optical speed loss (f-stop increases slightly at full telephoto zoom).
Decision Matrix: Lens Selection by Placement Zone
| Placement Zone | Target Distance | Recommended Lens | Target Objective |
|---|---|---|---|
| Front Porch & Entryway | 3 to 12 feet | 2.8 mm Fixed (or Video Doorbell) | Package drop monitoring, wide porch context, close facial capture |
| Driveway & Vehicle Parking | 20 to 35 feet | 4.0 mm or 6.0 mm Fixed | Positive facial identification at driver door; vehicle make/model |
| Side Yard / Dog Run Walkway | 15 to 40 feet (narrow corridor) | 4.0 mm or 6.0 mm Fixed | Eliminates wasted wall pixels; concentrates resolution on walking path |
| Street Ingress / Gate Choke Point | 40 to 80 feet | Motorized Varifocal (2.8–12mm) | Dedicated license plate capture (LPR) and long-range gate entry |
Step-by-Step Property Optical Audit
Follow this protocol to design a zero-blind-spot camera perimeter:
Step 1: Map Physical Choke Points
Do not attempt to blanket your entire property in cameras. Intruders must navigate physical access bottlenecks:
- The front pedestrian walkway.
- The driveway vehicle approach.
- The side fence gate leading to the backyard.
- The rear patio slider.
Step 2: Measure Target Distance with a Tape Measure
Walk to each choke point and measure the exact distance from where the camera will be mounted to where a visitor stands:
- If distance is under 15 feet: Order a 2.8mm lens.
- If distance is 15 to 30 feet: Order a 4mm lens.
- If distance is 30 to 50 feet: Order a 6mm lens.
- If distance exceeds 50 feet: Order a varifocal camera.
Step 3: Verify Nighttime Shutter Speed
During daylight, high-resolution cameras produce sharp images even at low pixel densities. At night, camera image sensors automatically slow their electronic shutter speed (down to 1/15 or 1/30 second) to let in more light.
- Slow shutter speeds create severe motion blur when people walk.
- Log into your camera NVR settings and manually set the minimum exposure time to 1/60 or 1/120 second.
- If the image becomes too dark, add an external 850nm infrared illuminator or white LED motion spotlight rather than letting the camera blur moving suspects.
Frequently Asked Questions
Can I just digitally zoom in on a 4K video recording?
Digital zoom does not add optical information. When you “pinch to zoom” on a recorded 4K video, the software simply enlarges existing pixels. If a face was captured at 20 PPF, zooming in simply enlarges a blurry grid of 20 pixels across the face. Only optical focal length (narrower lens) increases true optical information on target.
What is the difference between a turret, bullet, and dome camera?
Turret (or eyeball) cameras are the industry standard for residential outdoor use because their flat glass face eliminates infrared reflection glare and spider web nesting. Dome cameras protect against physical vandalism in commercial public spaces but suffer from internal IR light bouncing off the acrylic dome. Bullet cameras offer good long-range telephoto reach but are easily swiped aside by a stick and attract spiders.
Can a single camera monitor my whole front yard and read license plates?
No. This is the classic surveillance paradox. An ultra-wide camera that captures your entire front lawn from curb to roofline dilutes pixel density so heavily that license plates become illegible past 15 feet. Reading plates at 40 feet requires a dedicated telephoto camera (6mm to 12mm lens) zoomed tightly onto the driveway entrance lane.